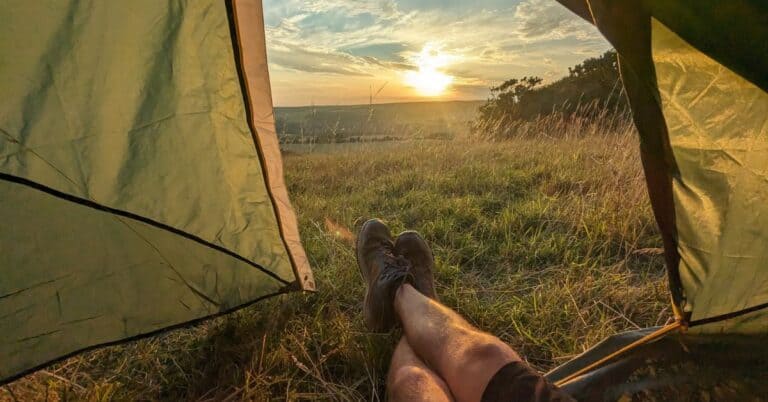
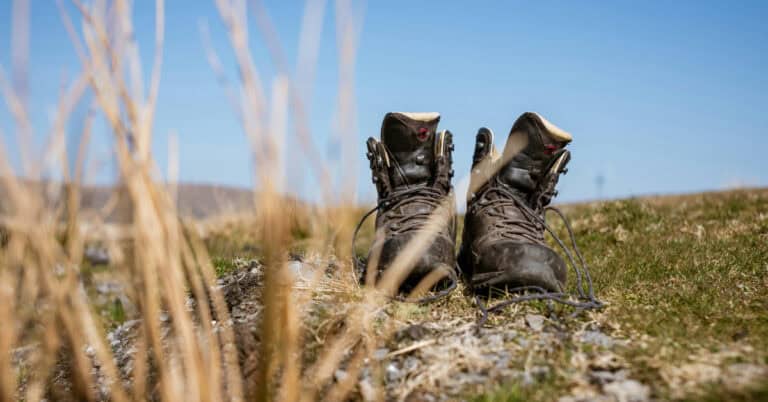
This is the kit I used to paddle the Great Glen Canoe Trail, a four-day canoe trip from Fort William to Inverness along the Caledonian Canal and across Loch Lochy, Loch Oich and Loch Ness. I wrote the canoe kit list before the trip and have since updated it with notes on what worked, what never left the bag, and what stayed at home.
The full list comes first, so you can use it as a checklist. Below it, I break down each section with notes from the trip.
If you’re still planning, my Great Glen Canoe Trail guide covers registration, camping and route planning, and my trip report covers how the four days went.
Thanks for your support – I may earn a small commission from affiliate links in this article Learn more
Multi-Day Canoe Kit List
If you’re hiring a canoe, check what’s included before you buy anything. Ours came with paddles, buoyancy aids, a sail, a barrel, a trolley, and a baler and sponge.
Safety & Canoeing Gear
- PFD: Helly Hansen Rider Vest Buoyancy Aid
- Dry bags for clothing and electronics: LifeVenture Storm Dry Bags (5L, 10L, 25L)
- Great Glen Canoe Trail guidebook: Pesda Press
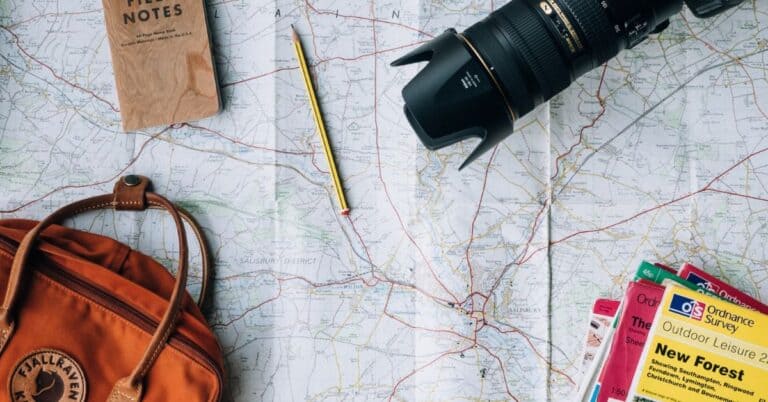
- Map: Harvey Maps Great Glen Way Map
- Compass: plus a waterproof map case
- Head torch: Claymore Capon 120H
- First aid kit: LifeSystems Adventurer First Aid Kit
- Multi-tool or knife
- Waterproof phone case: Outdoor Master Waterproof Floating Phone Pouch
- Emergency blanket
- Small repair kit: duct tape, cord and dry bag patches
- Sun cream and lip balm
- Insect repellent and head net: Smidge Survival Kit
- Throw line or rescue rope
- Bailer or sponge
- Mobile phone
Camping Gear
- Tent: MSR Hubba Hubba Bikepack 1P (best tents guide)
- Sleeping bag: Therm-a-Rest Vesper Quilt
- Sleeping mat: Therm-a-Rest NeoAir XLite NXT (my review)
- Pillow: Otimos Xlite-Plush
- Tarp and cordage for a rain shelter: DD Hammocks 3x3m Tarp
- Camp chair: Grand Trunk Mayfly (my review)
- Waterproof backpack: SealLine 70L
- Small waterproof bag: Wave 20L Roll Top Deck Bag
Clothing – On the Water
- Quick-drying shirt
- Shorts: running shorts, not swimming shorts
- Lightweight trousers: Fjällräven Abisko Hybrid Trail Trousers
- Sun hat: Passenger Emerge 5 Panel Trail Cap
- Sunglasses: with a retention strap
- Neoprene boots: Osprey 5mm Neoprene Aqua Boots (my review)
Clothing – Camp & Backup
- Underwear
- Socks
- Warm fleece
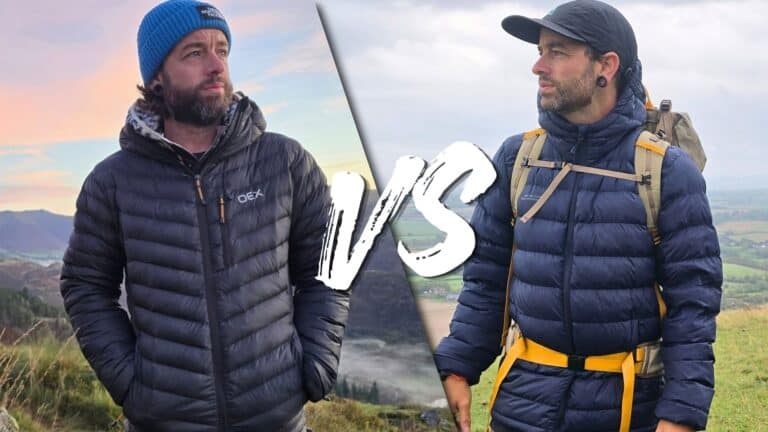
- Down jacket: OEX Kintra Hooded Down Jacket (my review)
- Waterproof jacket: Rohan Aira Barricade Jacket (my review)
- Waterproof trousers: Berghaus Maitland GORE-TEX Overtrousers (my review)
- Long-sleeve top for bugs and sun: PAKA Sol Hoodie
- Warm hat: Seashell Beanie
- Gloves
- Buff or neck gaiter
- Camp shoes
- Sleepwear: optional
Food & Water (4 Nights / 5 Days)
- Breakfasts x 4: Wayfayrer Ready-to-Eat Meals
- Dinners x 4: Wayfayrer Ready-to-Eat Meals
- Snacks for every day
- Water bottles or hydration bladder
- Water filter, purifier or purification tablets: LifeStraw
- Backup purification: Iodine tablets
- Coffee maker: Aeropress Go Plus (my review)
Cooking Kit
- Stove and fuel: MSR Switch Stove System (best camping stoves guide)
- Lighter and waterproof matches
- Pot(s)
- Mug and bowl: VSSL Rift Tumbler (my review)
- Spoon or spork: MSR Titan Long Spoon
- Dish cloth
- Small biodegradable soap: Lifeventure Biodegradable Soap
- Food storage bags or containers
Personal Items
- Toiletries
- Toilet paper: in a waterproof bag
- Trowel
- Prescription medication
- Small towel: Sea to Summit Pocket Towel
- Hand sanitiser
Nice-to-Have
- Cameras: Sony ZV-E10 and GoPro Hero
- Small tripod: Ulanzi tripod
- Spare batteries
- Fishing gear: if permitted
- Binoculars
- Journal
- Deck of cards
- Power banks: Anker 20,000mAh Power Bank x 2
- Hammock: DD Hammocks
- Waterproof speaker
My Top Kit Picks
- Best piece of kit: Osprey 5mm Neoprene Aqua Boots. Your feet get wet several times a day, and neoprene keeps them warm even when they’re soaked.
- Best sleep setup: MSR Hubba Hubba Bikepack 1P, Therm-a-Rest NeoAir XLite NXT and Vesper Quilt. It’s an incredibly light setup which packs down really small.
- Best layer: Rohan Aira jacket. It came on and off all week in changeable weather.
- Best camp kitchen kit: MSR Switch. It’s compact and quick for hot drinks and meal pouches.
How I Packed the Canoe
Pack light. Most people assume weight doesn’t matter in a canoe the way it does when you’re hiking with a pack, but it makes a big difference. Every extra kilo makes the canoe sit lower in the water, so it’s heavier to move, and you get less glide from each stroke. Over a long day, that adds up.
A heavy canoe is also harder to handle in waves. A lightly loaded canoe sits higher and rides over them, while an overpacked one takes on water and is harder to control on open lochs like Loch Ness. And every bag you add is another bag to unload, carry and reload at every portage.

Keep your bags low, too. Ideally, nothing should stick up above the sides of the canoe. Anything piled high acts like a sail, so in a crosswind it catches the wind and pushes the canoe off course, making it much harder to keep straight.
Strap everything into the canoe. A capsize is always possible on open water, even from a passing boat’s wake, and anything loose can be lost. Packing light helps here too: with fewer bags, it’s much easier to make sure everything is strapped down securely.
Kit Breakdown: How It All Performed
Safety & Canoeing Gear
Explore Highland provided buoyancy aids with the canoes, but I took my own Helly Hansen Rider Vest. It’s the one I’m used to, and when you’re wearing it all day, it’s nice to wear something you know is going to be comfortable.

A lot of the kit in this section is stuff you’ll carry and hopefully never use. We didn’t need the first aid kit, repair kit or emergency blanket once, but they’re the things you’d never want to be without in an emergency.
As my mum would always tell me, “It’s better to have them and not need them than to need them and not have them.”
That said, you’ll still want to be able to get to them quickly in the event of an emergency. I kept mine at the top of a day bag within reach in the canoe, rather than buried at the bottom of the barrel.
Everything inside our barrel and packs went into dry bags, and we used a simple colour code so we always knew what was where. Clothing, for example, always went in the yellow bag. It saved a lot of rummaging at camp and kept everything dry, even if water got into a bigger bag.
My waterproof phone case was on me the whole time I was in the canoe. It’s cheap insurance against a capsize, and Adam can vouch for it. When he went over the side, he was very glad his phone was in one.
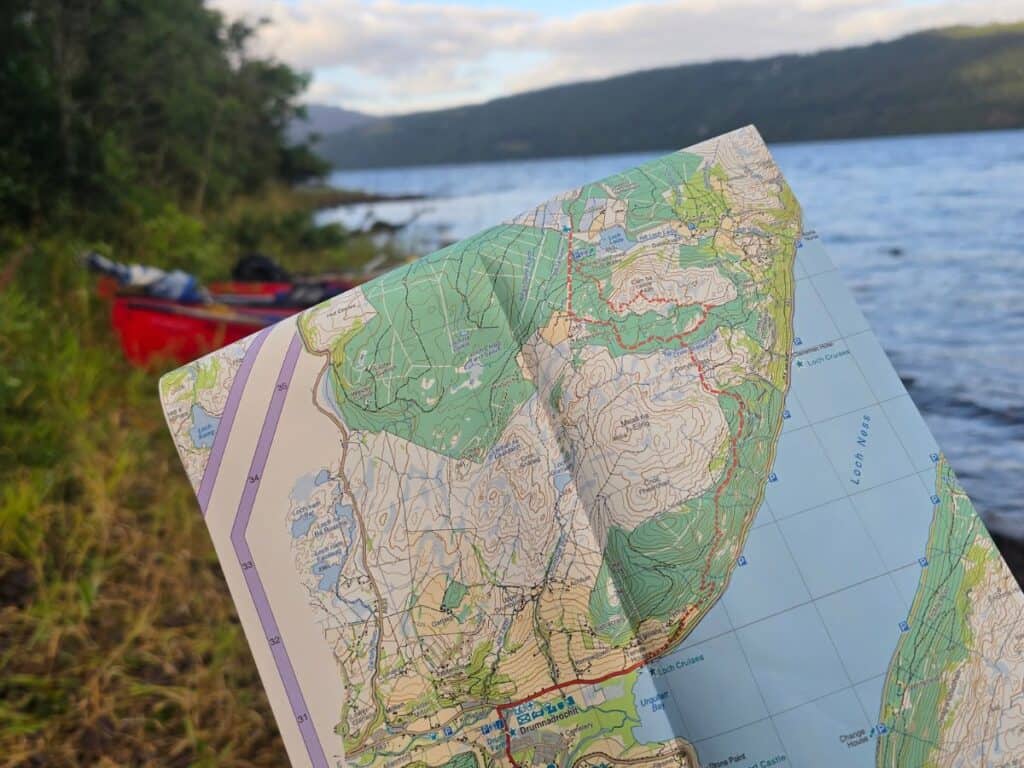
For navigation, I relied on Donald MacPherson’s Great Glen Canoe Trail guidebook and the Harvey Great Glen Way map. The guidebook was a great resource before and during the trip. The Harvey map is designed for walkers, but it follows the canal and lochs closely and it’s fully waterproof.
And don’t forget the Smidge. The midges weren’t as bad as I’d expected, but I used it every morning and evening and kept my arms and legs covered. If you’re paddling between late May and early September, it’s a must.
Camping Gear
My sleep system was the biggest win in my kit. My tent, mat, quilt and pillow came to just over 2kg combined, and the whole lot packed down impressively small.

I used the MSR Hubba Hubba Bikepack 1P, which is tiny when packed and comes in its own waterproof bag. Instead of a sleeping bag, I took the Therm-a-Rest Vesper quilt. Without a back panel, it’s lighter and packs smaller, and in summer, when I’d often sleep under an unzipped bag anyway, it makes a lot of sense. I’m now a convert to quilts.
The Grand Trunk Mayfly chair came out every evening. After a long day of paddling, it was the perfect spot to prep food and relax by the fire. I also packed the DD Hammocks tarp. It never came out of its bag, but it’s a sensible backup if the weather turns. I’d pack all of it again.

Clothing – On the Water
I learned from past trips that the mesh lining in swimming shorts chafes when you’re sitting in a canoe all day, so I’ve switched to running shorts. They’re comfortable, dry quickly and are easy to pull waterproofs over.
On top, I wore quick-drying, moisture-wicking active t-shirts. Where I can, I go for merino. It’s naturally antibacterial, so I can wear the same top for several days without it starting to smell.

For waterproofs, I packed my Rohan Aira jacket. It’s incredibly light, packs away to almost nothing and breathes well, which matters when you’re working hard with a paddle. When the rain really came down, I’d pull my Berghaus Maitland overtrousers on over my shorts.
The one item I nearly left at home, and was so glad I packed, was my Osprey 5mm neoprene boots. I’d originally planned to paddle in flip-flops, but the one day I tried it, my bare feet were wet and cold in the bottom of the canoe. Neoprene keeps your feet warm even when it’s wet, and it’s much easier to get in and out of the canoe and move around at portages in boots than in flip-flops.

Finally, pack a cap or hat to keep the sun out of your eyes, and a pair of sunglasses. A retention strap means they won’t end up at the bottom of the loch.
Clothing – Camp & Backup
Once we’d set up camp, I’d swap my shorts for my Fjällräven Abisko Hybrid trousers. They’re light and quick-drying, and most importantly, they kept the midges off my legs. As a mid layer, I packed a lightweight merino hoodie, and as the evening cooled down, my OEX Kintra down jacket came out. It compresses easily into a dry bag and kept me warm around the fire.
For camp shoes, I just took my Adidas Terrex Rain.RDY trainers.
I also packed a beanie, a neck gaiter and some gloves, but never used any of them. I’d thought the gloves might help with the midges, but they weren’t bad enough to need them.
Food & Water
Food is the one thing everyone in our group agreed we massively overpacked, so be realistic about how much you’ll actually eat.
To keep things simple, we lived on ready-to-eat meals like Wayfayrer, which were ideal for this trip. They only need heating: fold the pouch in half, drop it into boiling water in the MSR Switch, and there’s no washing up afterwards. Nice and simple.
For snacks on the water, we had biltong, dried fruit, nuts, dark chocolate and protein bars, plus isotonic drink mix to add to our water.
For water, we started with a large shared container and our own bottles, then filtered from the lochs as and when we needed to. I packed my MSR TrailShot, a quick hand-pump filter, but one of the group brought the LifeStraw Peak 8-litre gravity bag that could supply all of us, so we mostly used that. Iodine tablets came along as a backup, but we never needed them. My guide to the best water filters for hiking has more options.
Fort Augustus, roughly halfway along the trail, is a great place to restock, or to grab a hot meal from the chippy or the pub.
Cooking Kit
The MSR Switch is compact and boils water quickly, whether it’s for a coffee break or a meal pouch. You’re not limited to its integrated pot either, as it has flip-out pot supports for larger pots and pans. We wanted to keep things as simple as possible, though, so we didn’t pack anything extra.
For coffee, I took my AeroPress Go Plus. It’s compact, and it meant we could have great coffee every morning, wherever we’d camped. It also comes with its own insulated cup, which Adam used.
For hot drinks, I used my VSSL Rift tumbler. It’s 100% leakproof, so it can be thrown in a bag or roll around the bottom of the canoe without spilling a drop.
If you’re eating from meal pouches, the MSR Titan Long Spoon is a must. It reaches the bottom of the bag cleanly, so you’re not plunging your hand in and covering yourself in food.
Personal Items
I kept personal items to a minimum. My toiletries were just the basics: toothbrush, toothpaste and deodorant. Toilet paper went in its own separate dry bag, along with a small trowel for when there wasn’t a toilet nearby.
One thing that isn’t on the list but should be: a Scottish Canals facilities key. It costs £10, opens the toilets and showers along the canal, and one key can be shared across a whole group.
Nice-to-Have
Most of the nice-to-haves stayed at home. The binoculars, fishing gear and cards are on the list as suggestions, but I never planned to take them.
I also decided to leave my camera behind. I didn’t want to risk getting it wet, and my phone takes great photos anyway. I left the speaker at home too. Part of the appeal of a trip like this is being in the moment.
The power banks did come with me, but two Anker 20,000mAh power banks was more than I needed.
Related Guides & Reviews
The resources below cover the basics, common questions, and related kit to help you get more out of your time on the water.
- Wave Kayaks and Canoe: The Full Range Compared
- 10 Best Places for Wild Camping Scotland
- How To Paddle Board: Complete SUP Guide for Beginners
- Best Budget Paddle Boards in the UK
- Best Paddle Board Accessories: Best SUP Gear

Steve Cleverdon
Adventure-driven outdoor gear reviewer and paddleboarder, Steve has spent 20 years exploring rivers, coastlines, and trails across Britain and abroad, sharing what he’s learned along the way. Learn more about Steve or get in touch.