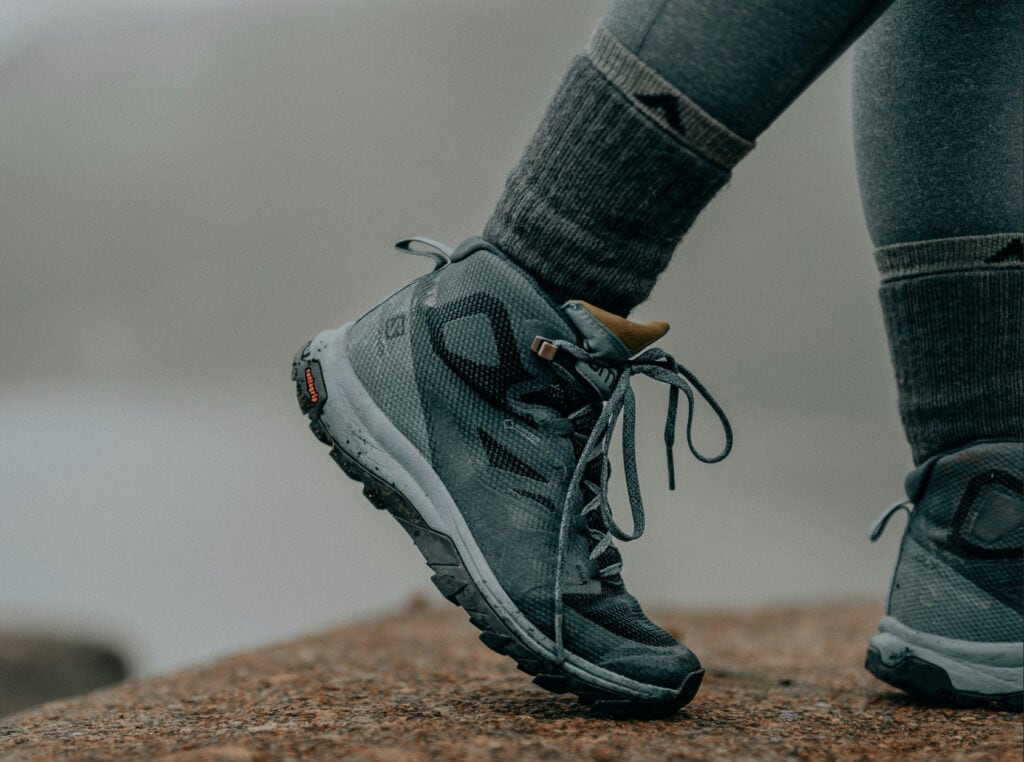
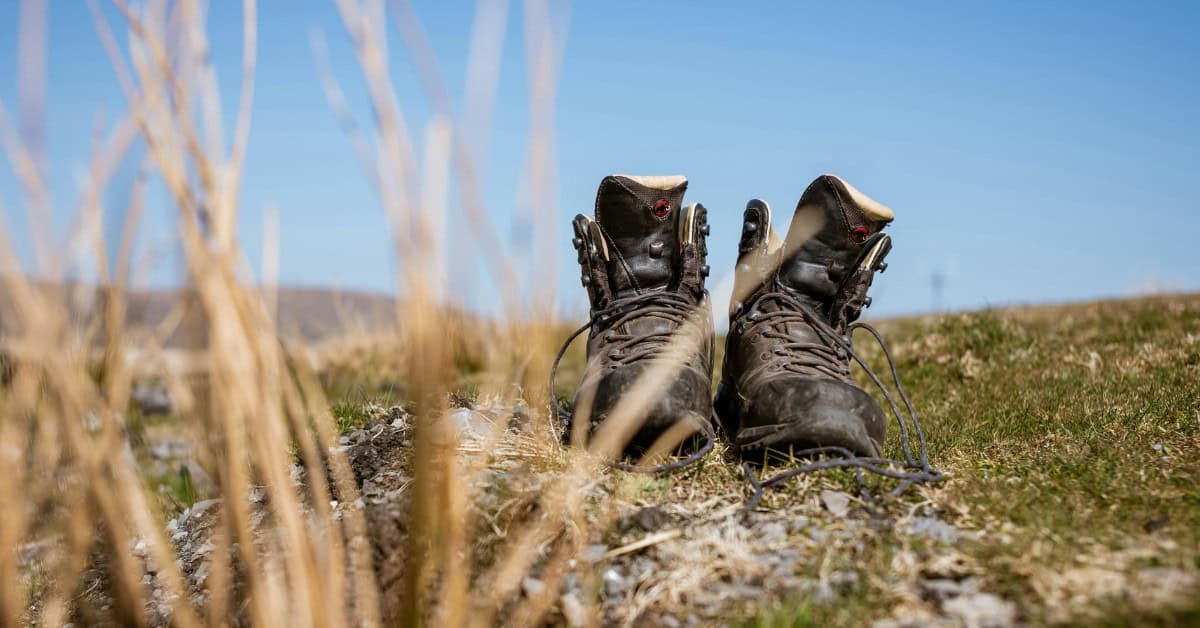
Getting new hiking boots is exciting until you realize they need breaking in. Skip this step, and you’ll likely end up with painful blisters on your first proper hike. But rush the process, and you might damage your boots or still get blisters anyway.
The good news? It’s easy to break in hiking boots properly. It doesn’t have to be complicated or painful. With the right approach, you can get your boots trail-ready while keeping your feet blister-free. This guide covers everything you need to know, from choosing the right socks to mastering lacing techniques that actually work.
Before you jump into this guide, sign up here for regular outdoor guides straight to your inbox.
This article contains affiliate links. If you buy through them, I may earn a commission at no extra cost to you. Learn more here
Choose the Right Boots and Socks from Day One
Before you even think about breaking in your boots, make sure you’ve got the fundamentals right. Poor-fitting boots or wrong socks will cause problems no matter how carefully you break them in.
Getting the Fit Right
Try boots on in the afternoon when your feet are naturally swollen—this mimics how they’ll feel during a long hike. Look for these key fit indicators:
- About a thumb’s width of space between your longest toe and the boot’s front
- No heel lift when walking around the shop
- Zero pressure points around your ankles or sides
- Comfortable width that doesn’t pinch or feel loose
UK retailers like Go Outdoors, Cotswold Outdoor, and Blacks often have knowledgeable staff who can help with fitting. Don’t rush this step. A proper fitting can prevent weeks of break-in problems.
Sock Selection Makes All the Difference
Cotton socks are your enemy when breaking in boots. They retain moisture, increase friction, and practically guarantee blisters. Instead, choose:
Merino wool socks offer natural moisture-wicking, odor resistance, and cushioning. Brands like Bridgedale and SmartWool are widely available in UK outdoor shops.
Synthetic blend socks dry quickly and are often more affordable. Look for materials like polyester or nylon blends with cushioning in the heel and toe areas.
Sock liners create a barrier between your skin and hiking socks. The layers rub against each other instead of your skin, significantly reducing blister risk.

Gentle Break-In Progression
The key to breaking in boots without blisters is gradual progression. Think of it like training for a marathon—you wouldn’t run 26 miles on your first day.
Start Indoors
Begin your break-in process at home, where you can easily remove boots if problems arise:
- Wear boots for 30-60 minutes at a time with your hiking socks and insoles
- Walk on different surfaces—carpet, hardwood, stairs—to flex boots in various ways
- Pay attention to pressure points or discomfort during indoor sessions
- If something feels wrong indoors, it’ll be much worse on the trail
This stage lets you identify potential issues in a controlled environment where adjustments are easy.
Progress to Short Walks
After comfortable indoor sessions, take your boots outside for short walks:
- Start with 15-20 minutes on pavements and footpaths
- Gradually increase to an hour over several sessions
- Add gentle inclines when boots feel comfortable on flat ground
- Carry a small daypack to simulate hiking conditions
Even a light load changes how your feet interact with the boots, so don’t skip the pack during these test walks.
Build Up to Day Hikes
Once your boots feel comfortable on longer walks, try a short, easy hike:
- Choose familiar terrain where you can turn back quickly if problems arise
- Start with 2-3 miles on well-maintained paths
- Avoid challenging terrain until boots are fully broken in
- Always carry blister treatment supplies during this phase
Prevention is ideal, but preparation is essential during the break-in period.
Master Lacing Techniques and Foot Fit
Proper lacing can make the difference between comfortable boots and blister-inducing torture devices. Most people just pull the laces tight and tie them off, but there are much better approaches.
Basic Snug Lacing
Start from the bottom and work up, keeping tension even across all eyelets. The boot should feel snug but not tight—you should be able to slide a finger under the laces at the ankle.
Focus on the ankle area where most heel slippage occurs. This section should be firm enough to prevent your heel from lifting during descents.
Window Lacing for Pressure Relief
If you’re getting pressure across the top of your foot, try window lacing. Skip the eyelets where pressure occurs, creating a “window” of looser lacing. This technique is particularly useful for people with high insteps.
Heel Lock Lacing
Also called the “runner’s loop,” this technique prevents heel slippage. Instead of going straight across at the top eyelets, create loops on each side. Thread the opposite lace through each loop before tying off. This locks your heel in place without over-tightening the entire boot.
Twisted Heel Lock
For extra security, twist the laces before creating the heel lock loops. This adds more grip and prevents the laces from loosening during active movement.

Blister Prevention Tactics
Even with perfect boots and proper lacing, some people are more prone to blisters. These prevention strategies can save your feet and your hiking plans.
Use Preventive Taping
Apply tape to known problem areas before they become painful:
- Micropore surgical paper tape is particularly effective—a study found it reduced blisters by 40% in ultramarathon runners
- Hydrocolloid bandages create a “second skin” that moves with your foot – Compeed plasters are a popular example.
For sensitive areas, hydrocolloid patches work better than standard plasters as they stay flexible when wet.
Double Up on Socks
Wear thin liner socks under your hiking socks. The two layers slide against each other instead of your skin rubbing against the sock. Make sure your boots have enough room for the extra layer—you may need to size up slightly.
Change Socks When Needed
Wet socks increase friction dramatically. If your feet get sweaty or wet, change to dry socks when possible. Always carry at least one spare pair on longer hikes.
Remove Debris Promptly
Small stones, sand, or vegetation inside your boots create pressure points that lead to blisters. Stop and empty your boots whenever you feel something inside.
Treating and Monitoring Hot Spots
Hot spots are the warning sign before blisters form. Address them immediately, and you can often prevent full blister development.
Recognize the Signs Early
Hot spots feel like burning or excessive warmth in specific areas. They often occur on heels, toes, or the sides of feet. Don’t ignore these sensations—they’re your feet’s early warning system.
Immediate Treatment
Stop as soon as you notice a hot spot and follow these steps:
- Clean and dry the affected area thoroughly
- Apply tape or a blister pad before continuing
- Use hydrocolloid patches for best results—they stay in place even when wet
- For emergencies, layer ordinary plasters: one smooth against skin, another overlapping for extra protection
Don’t try to “push through” hot spots—they almost always develop into painful blisters if ignored.
Monitor Throughout Your Hike
Check your feet regularly during breaks. Hot spots can develop quickly, especially when conditions change or your boots get wet.
What to Avoid
Some break-in methods can damage your boots or make blister problems worse. Avoid these common mistakes:
- Don’t soak your boots in water to speed up break-in, as this can damage leather, weaken adhesives, and cause boots to dry in the wrong shape
- Avoid using heat like hair dryers or radiators; excessive heat can crack leather and damage synthetic materials
- Never ignore pain thinking it will just go away; pain is your body’s warning system
- Don’t machine dry your boots; high heat can shrink materials and separate sole bonds
Patience during break-in prevents expensive boot damage and painful feet later.
Quick Checklist
✓ Try boots on in the afternoon at a reputable UK outdoor retailer
✓ Buy proper hiking socks (merino wool or synthetic blend)
✓ Start with 30-minute indoor sessions
✓ Progress to short town walks with light pack
✓ Master heel-lock lacing technique
✓ Stock up on micropore tape from pharmacy
✓ Carry blister treatment supplies on all test hikes
✓ Never rush the process—plan 1-2 weeks minimum
Final Thoughts
Breaking in hiking boots without blisters comes down to patience, proper technique, and paying attention to your feet. Start indoors, progress gradually, and never ignore discomfort. Master proper lacing techniques, choose the right socks, and always carry blister prevention supplies.
The few weeks you spend breaking in boots properly will pay off with years of comfortable hiking. Your feet will thank you, and you’ll actually enjoy those challenging UK trails instead of dreading every step.
Remember, good boots are an investment in your hiking future. Take the time to break them in properly, and they’ll serve you well on countless adventures across Britain’s beautiful but demanding terrain.
Want more tricks and tips like this? Join the list here and get more straight to your inbox!
How to Break in Hiking Boots FAQs
How long does it take to break in hiking boots?
Most boots need 1-2 weeks of gradual wear to properly break in. Leather boots typically take longer than synthetic ones. The process varies depending on boot stiffness, your foot shape, and how often you wear them.
Can I use heat to speed up break-in?
It’s not recommended. While gentle warmth can soften leather slightly, excessive heat can damage boots permanently. Stick to gradual wear—it’s safer for both your boots and feet.
Why should I avoid cotton socks?
Cotton retains moisture and loses its insulating properties when wet. This creates perfect conditions for blisters. Wool and synthetic materials wick moisture away from skin and maintain their properties even when damp.
What’s the best tape for preventing blisters?
Micropore surgical paper tape is highly effective and gentle on skin. It’s widely available in UK pharmacies. For sensitive areas, hydrocolloid bandages create excellent protection.
How important is wearing a pack during break-in?
Very important. Even a light pack changes how your feet interact with boots and how much they swell during activity. Start with a light daypack and gradually add weight as your boots break in.
Can I use two pairs of regular socks instead of liners?
While two pairs of hiking socks might work, proper liner socks are designed specifically for this purpose. They’re thinner, fit better, and are made from materials that slide against each other more effectively.
Learn More
Like this review? Well, you’re in luck as I’ve got a bunch of other great resources for you to explore here…
- Wild Camping: The Complete Beginner’s Guide
- Best Tents For Wild Camping
- Best Hammocks + Best Bivvy Bags
- Best Portable Camping Fire Pits
- Best Places for Wild Camping Wales, Scotland and The Lake District
All images courtesy of Respective Brands, All Rights Reserved.
Disclaimer: If you make a purchase via the links on our site, I may earn an affiliate commission at no additional cost to you. You can read my affiliate disclosure in the privacy policy. Thanks for your support!

About the Author
Steve Cleverdon is an outdoor adventure specialist with 15+ years of hiking, camping, and paddle boarding experience. He has conquered Europe’s toughest trails including the GR20 in Corsica, walked 3,000km solo across New Zealand, and worked professionally in the outdoors industry. Steve’s gear reviews and recommendations are based on real-world testing across four continents, from coastal waters to mountain peaks. Learn more about Steve or get in touch.
